There are affiliate links in this post.
One aspect of natural wavy hair care is finding out how to strike the ideal balance between moisture and protein for your hair. As a general rule of thumb, hair that has been dyed, chemically treated or has heat damage will like a lot of protein. On the other hand, hair that hasn’t been damaged usually requires less protein.
Based on this general rule of thumb, I assumed my hair wouldn’t need much protein. I haven’t dyed or chemically treated my hair in close to a decade. I don’t curl or straight iron my hair, though I do diffuse it, it’s never on high heat.
Surpringly, my hair still loves protein! I can get over-moisturized pretty easily and that’s when I know to give my hair more protein.
Signs that wavy hair needs protein
- My hair stops getting a cast, even from products that used to give me a good cast.
- The cast that I do get is softer.
- My hair goes limp shortly after scrunching out the crunch. My curl definition is worse and doesn’t hang around very long.
- My hair feels very soft after scrunching out the crunch. So soft that it seems like there are no products in it at all.
- My roots get flatter, and my hair has less volume due to having less strength to support waves higher up on my head.
- My looser waves fall straighter. I have one portion of my head that is just looser textured than the rest of my waves, but when I’m lacking protein that area will go straight.
Once I see that it’s time for protein, I usually do a store bought protein treatment (my absolute favorite is Shea Moisture Manuka Honey & Yogurt protein mask) or I add Neutral Protein Filler to a deep conditioner. I decided to try a DIY gelatin protein treatment as I’ve seen these talked about on forums. Gelatin is really cheap so I thought it was worth a try, and I thought I’d share my experience with you guys, too.
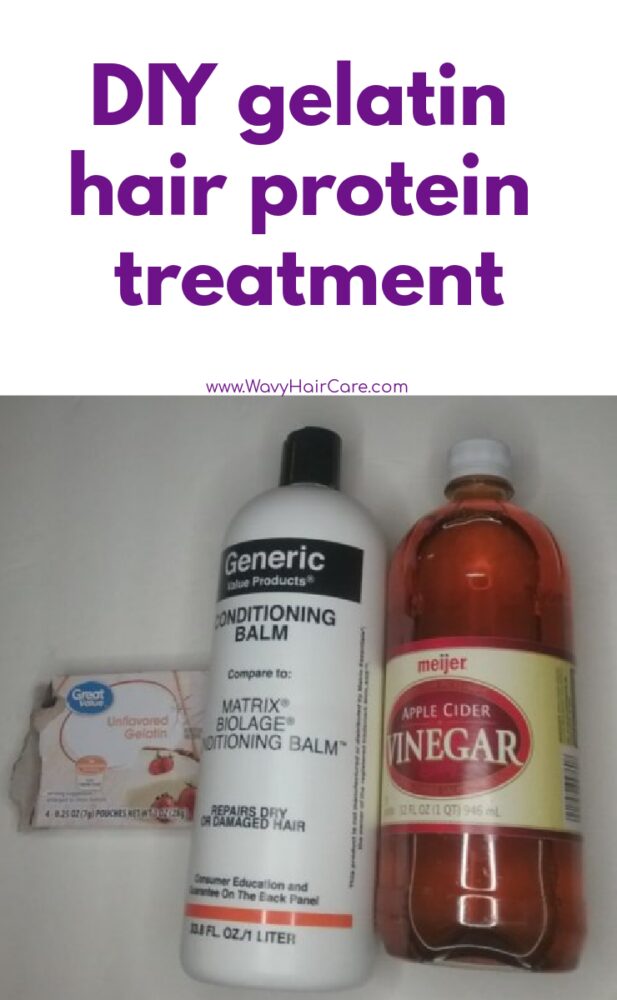
DIY Homemade Gelatin Protein Hair Treatment Recipe & Step By Step Directions
Adapted from Swavy Curly Courtney’s gelatin protein video.
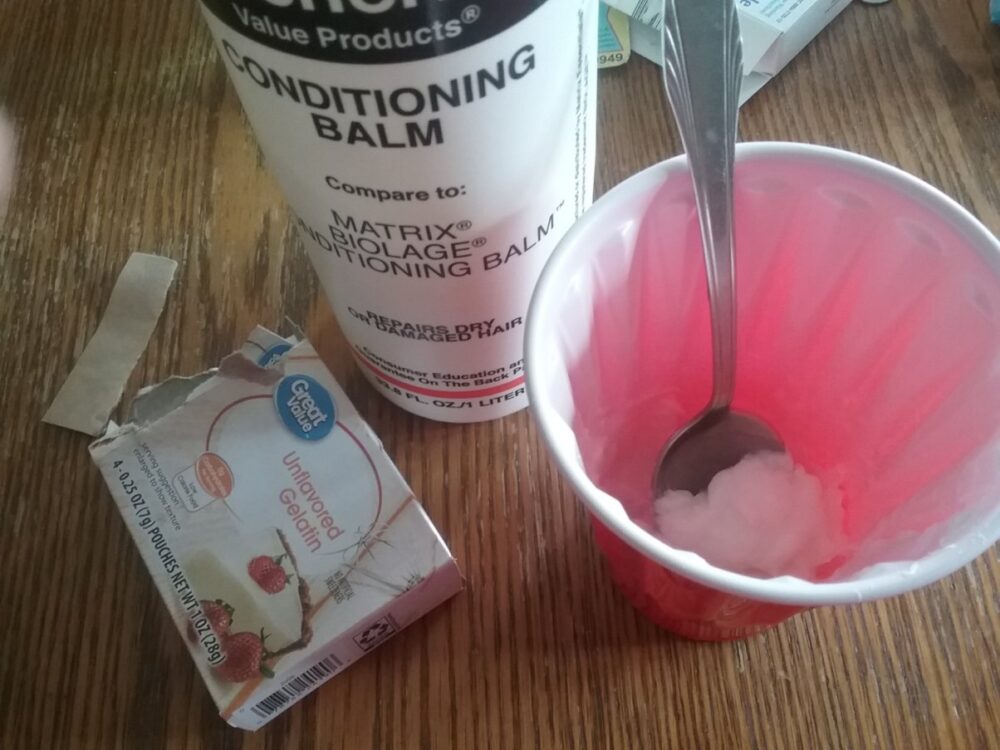
- Mix 1 packet of plain gelatin into 2 tablespoons of HOT water. Mix well.
- Add 1 teaspoon apple cider vinegar.*
- Add as much GVP conditioning balm as you’d use for a deep conditioning treatment. Mix well.
*I’ve read mixed things about apple cider vinegar. I read on the sciency hair blog that it is optional. Courtney’s video said it helps the gelatin penetrate the hair. I’ve read that it is simply there to help balance PH.
Okay. Now that you have your protein treatment! On to actually using it.
- Shampoo or cowash as usual, then rinse.
- Apply the protein treatment you made, try to distribute it evenly across all of your hair. I like to comb it through and scrunch it a bit before clipping it on top of my head.
- Let it sit 10-15 minutes. You can put a cap on to keep it warm if you’d like. I opted to just stay in the hot shower for convenience.
- Thoroughly rinse your hair.**
- Style as usual.
**If at this stage your hair feels really brittle or tangly, this can be a sign of protein overload. If you suspect you have protein overload, I’d do a protein-free deep conditioner to correct the protein overload. GVP conditioning balm is a really rich conditioner that is protein-free so simply applying more and letting it sit on your head would work as a deep conditioning treatment.
Homemade Gelatin Treatment Before & After Results On Wavy Hair

This was right before I stepped into the shower to do my DIY gelatin protein mask. However, I don’t feel like this ‘before’ picture would be very fair to use in a before and after comparison.
This was over 2 days since I had scrunched out the crunch from my former wash day, and without any refreshing. I have been trialing different mousses and not refreshing to see how long their definition lasts. This particular mousse experiment was a particularly bad one, I lost a LOT of definition. Anyway, my hair was definitely straighter and less defined than is fair to use as a comparison.
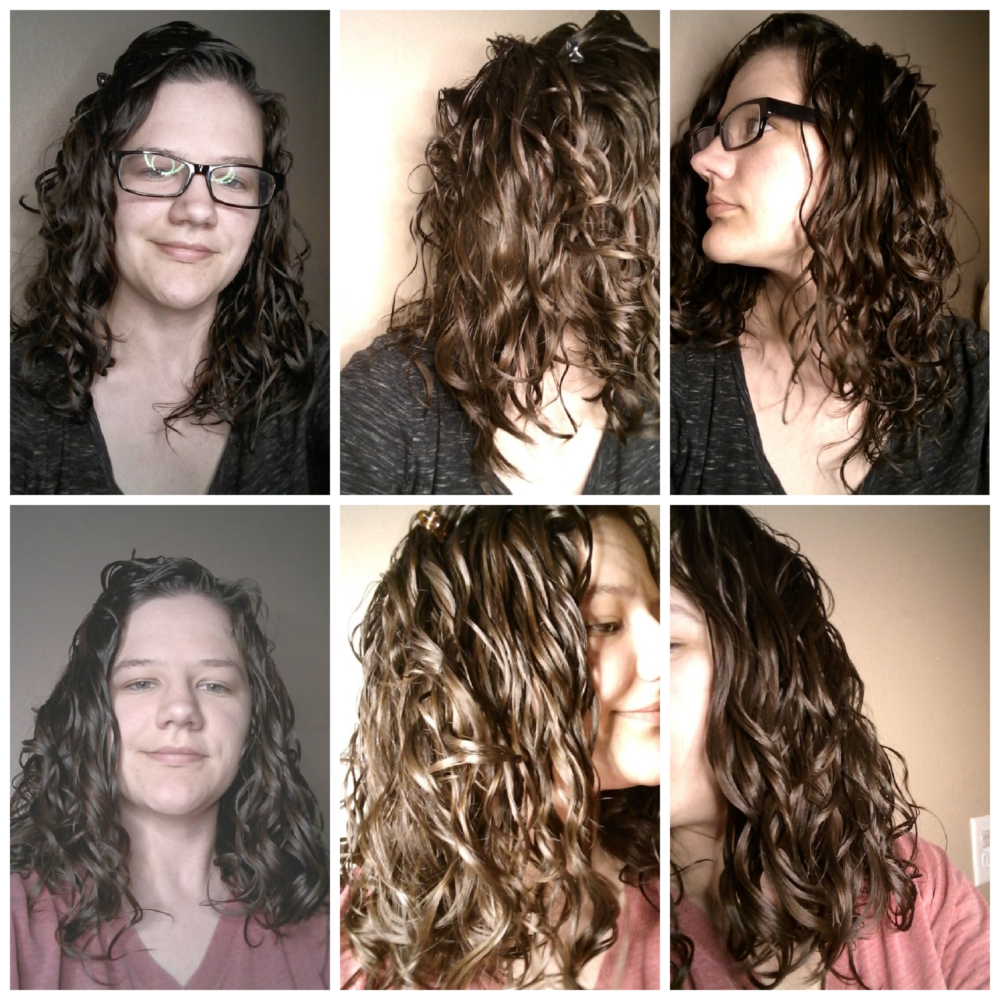
So instead I’ll use ‘before’ pictures from my most recent wash day before this protein treatment. These were taken shortly after scrunching out the crunch.

I had quite a bit more frizz from the get-go on this day. But in terms of curl pattern, it appeared to be doing okay from the front. But from the sides is where you can see that my hair was falling straighter than usual.
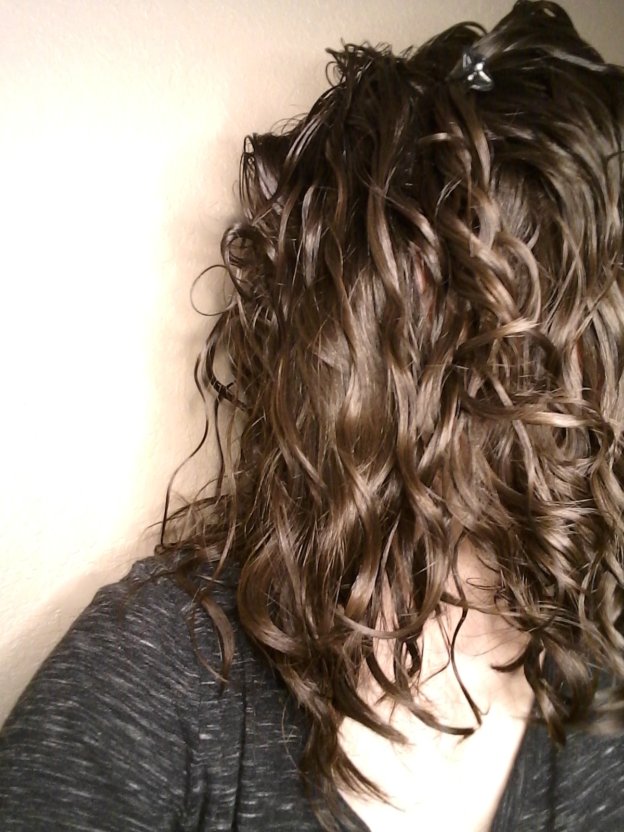
See that section that is just rather straight compared to the rest of my hair? That’s always a bit looser than the rest of my hair. It was straighter than usual though.
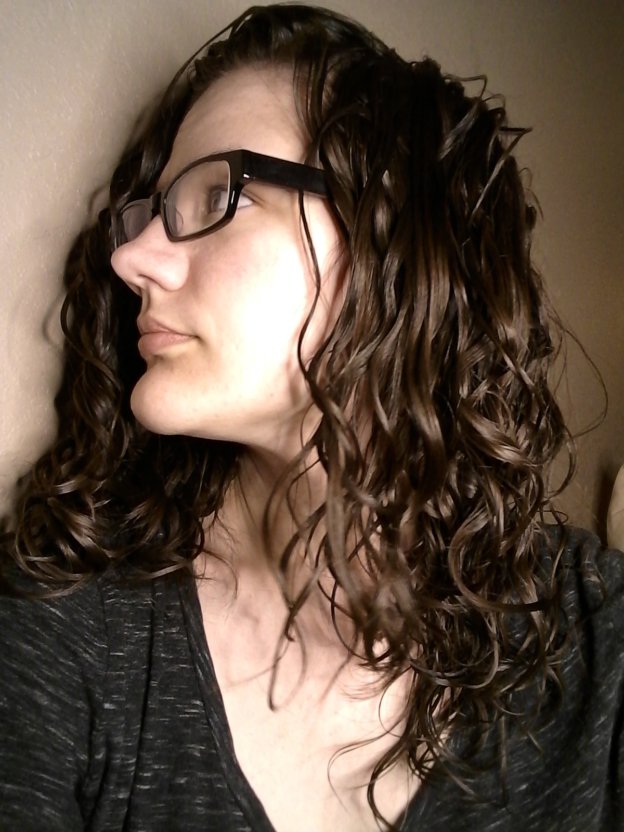
This side looked fine. This is always my tighter side.
Here are my pictures from after trying the gelatin protein treatment.

I definitely felt like my clumps were smaller and more stringy than usual. I used the same techniques as usual so I’m not really sure what would have caused this.
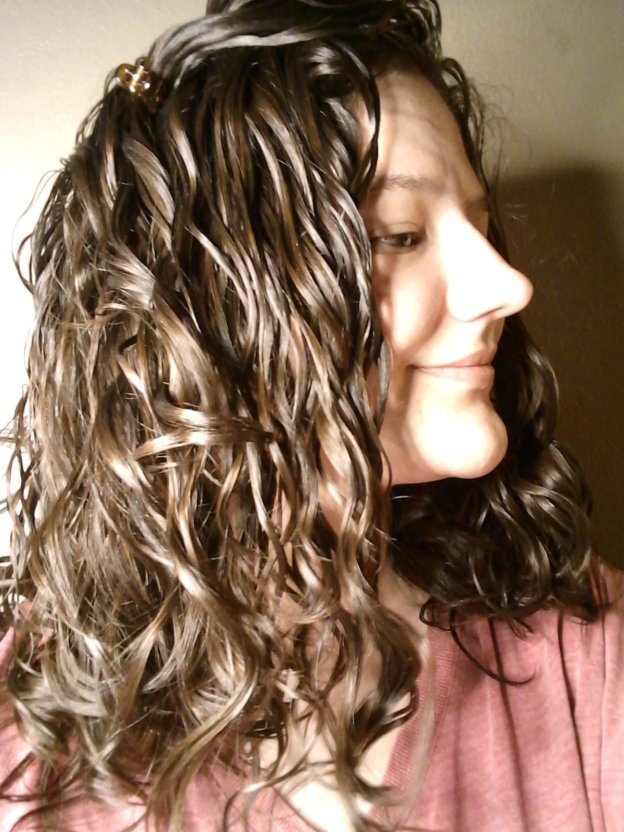
The straighter section is a bit tighter than usual, but some of my tighter waves were weighed down higher up on my strands.
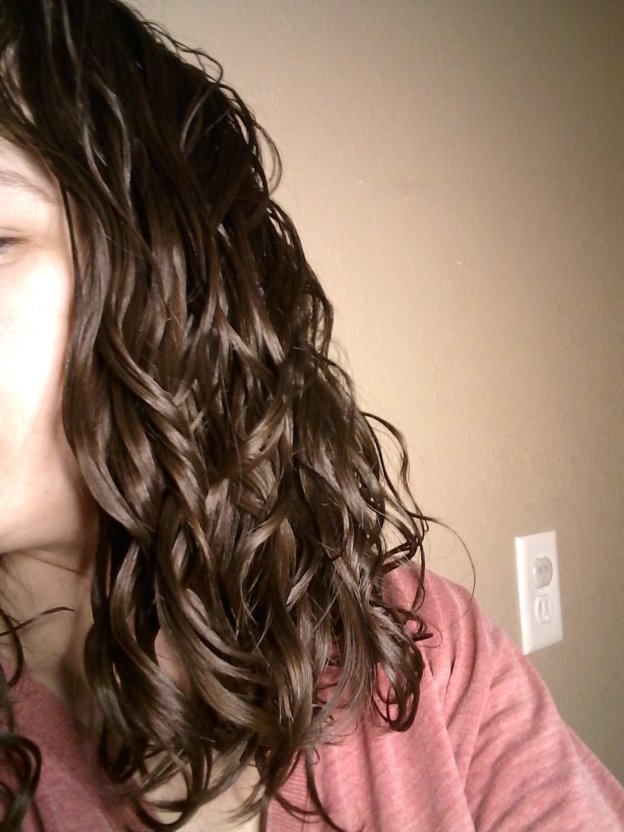
This side is nice and uniform in pattern, but is less voluminous than I usually get. I think it was somewhat weighed down.
Did it work?
While the visible results aren’t very impressive, I do think it worked. My hair physically feels better, less soft, but in a good way. My hair feels stronger. I will make some changes when I do this next time. I’ll use less conditioner. I use about a lemon-sized amount of conditioner, which is about how much it takes to really thoroughly saturate my hair.
What went wrong?
I think that the conditioning ingredients in the GVP weighed my roots down a bit on my right side (which is my looser side). Yet when looking at my curlier side, it seems to have curled up a bit tighter than usual.
So I think I successfully got my hair a bit of protein, while simultaneously weighing it down a bit with conditioner. I think next wash day when I go back to my regular conditioner that is lighter, it will spring up better.
DIY gelatin treatment without conditioner
This part is being added in a couple weeks after the original post. I felt that I was again in a place where my hair needed protein. This time, I decided to try a DIY gelatin protein treatment without conditioner at all! I saw that Naturally Curly had a post that talked about just dissolving the gelatin in water, and using the water.
So, I took a cup of water, got it super hot in the microwave, mixed the gelatin in, mixed about a teaspoon of apple cider vinegar in, and let the gelatin mixture sit in the fridge for a while to start to solidify. Then I took the mixture into the shower with me.
I shampooed, then applied the water. I tried to gently pour it, and catch what dripped out back into the cup, and poured it over my head again and kept going until I totally ran out. It was a bit hard to apply because it was very liquid.
I think using 1/2 a cup of water or maybe even 1/4 cup would have made it a bit more solid and easier to apply. Once in my hair, I put a plastic shower cap on my hair for the rest of my shower, about 10 minutes, then rinsed it out.
I styled my hair as I usually do, just with mousse. I did not follow up the treatment with a deep conditioner, as my hair felt good in the shower, so I thought deep conditioning might skew me back towards over-moisturized.
Here are my results from the just-water gelatin protein treatment.

I thought I got nice volume and definition. Not weighed down, and my hair felt good and strong, not dry or straw-like at all. I definitely don’t think this was too much protein, and I don’t think I needed to follow it up with a deep conditioner.
Overall, I think my hair did better with the just-water protein treatment. I think if my hair is really over-moisturized and needing protein, then there is no need to pair the protein treatment with more moisture.
Is it worth it?
The gelatin I bought was less than $1 for a box that includes 4 packets. At that price, it’s worth giving it a try in my opinion. However, if you aren’t certain that your hair really likes and needs protein, I would start with something more gentle or a more subtle choice than adding lots of gelatin as it’s a lot of protein.
Instead, I’d start with adding in one product to your wash day routine that has protein. That’s a much less risky way to see if your hair reacts well to protein.
thanks for these tips ☺️
I am going to try this.